
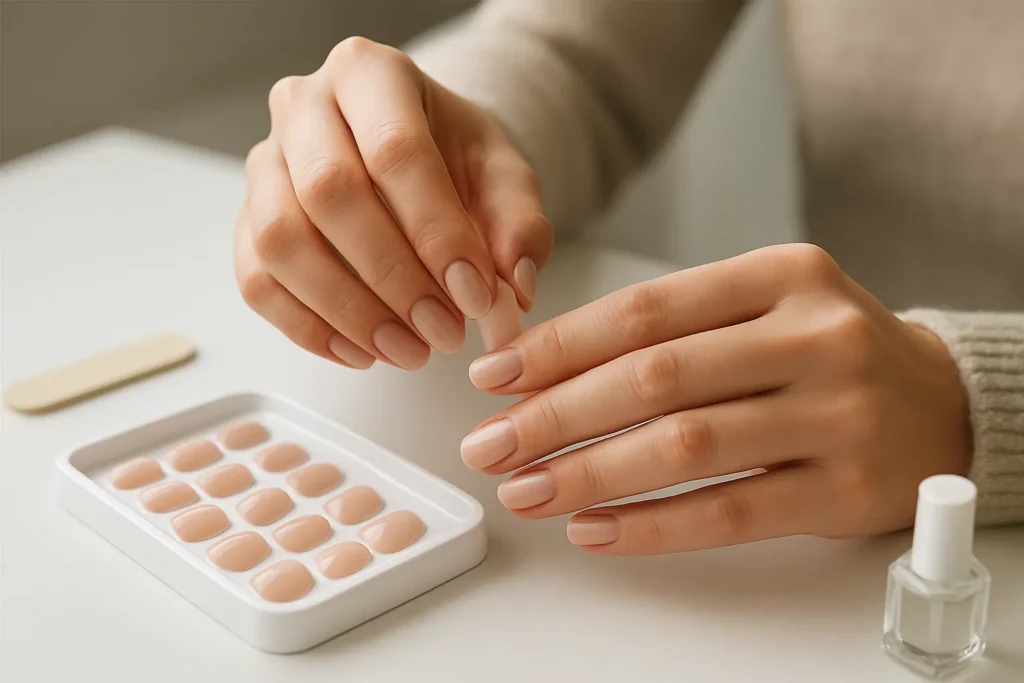
A Beginner’s Guide to Press On Nails: Quick Start and Essential Tips
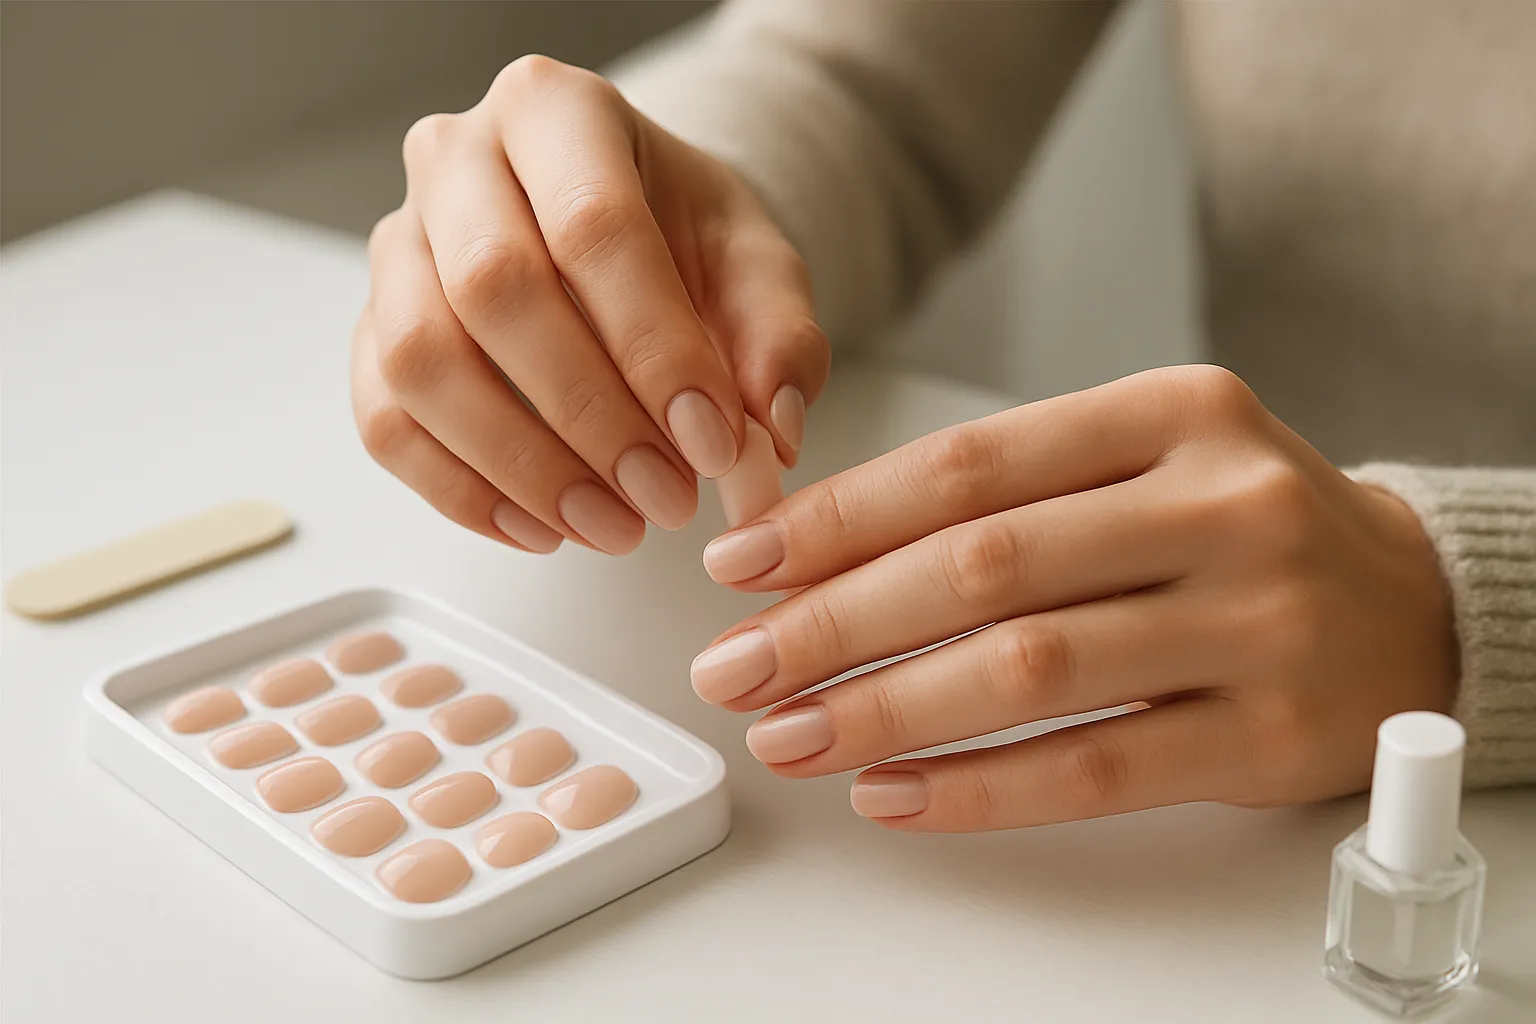
Press on nails offer a simple way to achieve a polished look without the commitment of traditional manicures. Applying them is straightforward and can yield impressive results in just minutes, making them ideal for busy lifestyles.
Step-by-Step Guide to Applying Press On Nails
Here’s a step-by-step guide to ensure a successful application that lasts:
Step 1: Select the Right Size
Choose press on nails that fit your natural nails. Most kits include multiple sizes. Fit each nail to your own, adjusting as needed.
Step 2: Prepare Your Natural Nails
Clean your hands and nails thoroughly. Push back cuticles gently and buff the surface of each nail lightly to help the adhesive bond better.
Step 3: Apply Nail Prep Solution
Use a nail prep solution or alcohol wipes to remove oils and moisture from your nails, ensuring effective adhesive adherence.
Step 4: Apply Adhesive
Apply the adhesive as directed. For adhesive tabs, peel off the backing and place the tab on your natural nail. For glue, apply a thin, even layer.
Step 5: Position and Press
Align the press on nail with your natural nail. Press down firmly for about 10-15 seconds to ensure a secure fit.
Step 6: Finishing Touches
After applying all nails, check for gaps or lifting. If needed, gently press down on any areas that may not be secure.
Comparison of Different Press On Nail Types
Understanding the different types of press on nails can greatly influence your experience:
Plastic Press On Nails: Affordable and lightweight, but may chip or break easily.
Gel Press On Nails: Flexible with a natural appearance, often glossy, but pricier.
Acrylic Press On Nails: Durable and withstand daily wear, but require more tools for fitting.
To decide which type suits you best, consider your lifestyle and budget.
Common Mistakes to Avoid with Press On Nails
Beginners often make mistakes that can compromise application and longevity:
- Inadequate Preparation: Clean and buff your natural nails.
- Wrong Size Selection: Measure your nails accurately.
- Excess Adhesive: Follow manufacturer instructions.
- Neglecting Aftercare: Avoid excessive moisture and harsh chemicals.
By avoiding these common mistakes, you can ensure a smooth application process.
Frequently Asked Questions About Press On Nails
How long do press on nails last? They can last from a few days to two weeks, depending on quality and daily activities.
Can you reuse press on nails? Yes, if removed carefully and cleaned, they can be reused.
What’s the best way to remove them? Soak in warm, soapy water for 10-15 minutes to loosen the adhesive bond, then gently pry off.
Quick Tips for Maintaining Press On Nails
To extend the lifespan of your press on nails:
- Avoid excessive moisture; wear gloves when washing dishes.
- Store in a cool, dry place away from sunlight.
- Regularly check for lifting edges and reinforce with nail glue if needed.
- Avoid using nails as tools to prevent chipping.
By incorporating these maintenance tips, you’ll ensure your press on nails look great and last longer.
Frequently Asked Questions
How do you choose the right size for press on nails?
Measure your natural nails and compare with sizing charts provided by brands.
Can press on nails damage your natural nails?
If applied and removed properly, they shouldn’t damage your natural nails.
What is the best way to remove press on nails?
Soak nails in warm water or use a gentle nail remover to safely detach them.
How long can I wear press on nails?
With proper application, they can last from a few days to two weeks.
Are press on nails reusable?
Some can be reused if carefully removed and cleaned.